Best Accessories in Phantom Blade Zero: S/A/B Tier List
The best accessories in Phantom Blade Zero, tiered S to B: Reflex Device, Remnant Spark Cube, Crimson Resolve, Nuo Mask, and how to slot six around the category cap.
FAQ
What is the best accessory in Phantom Blade Zero?
How many accessories can you equip?
Can accessories be upgraded?
Are quest-reward accessories missable?
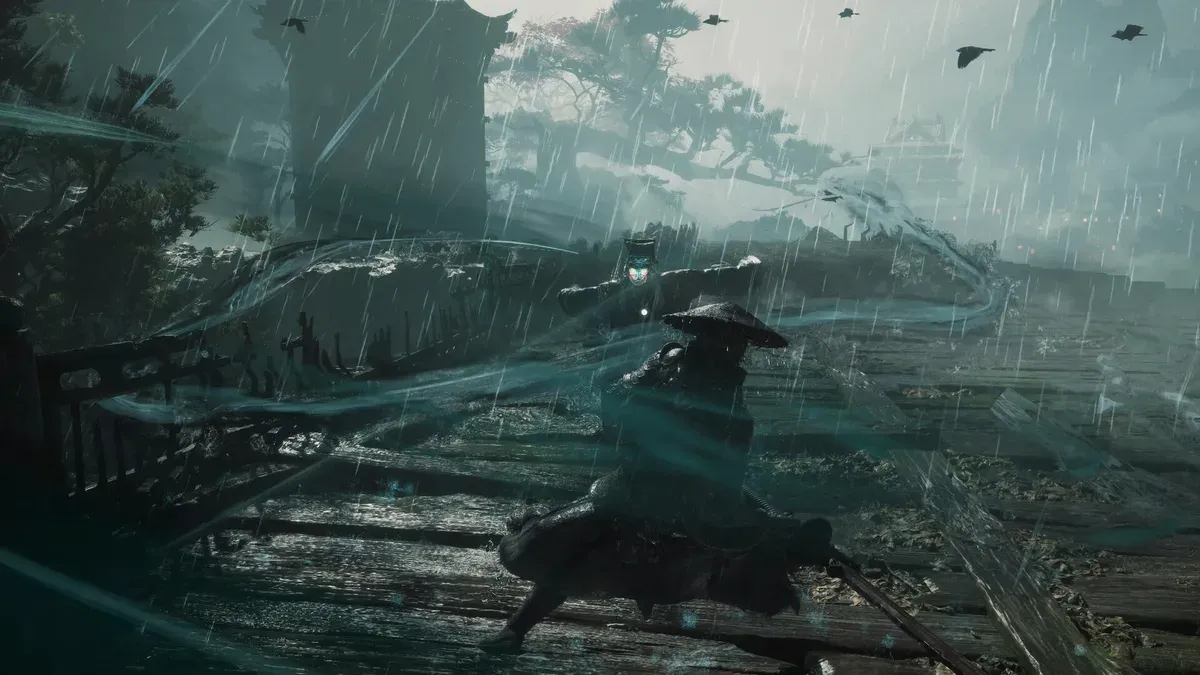
Phantom Blade Zero has 66 accessories at launch, but your loadout obeys a hard structure: six slots maximum (three to start, three more from the Boundless Capacity skill line) and at most three per category - Offensive, Defensive, Support. That cap is the puzzle. This page tiers the 32 strongest verified pieces S to B; the complete accessories index owns the full 66-item roster with every location and Tale deadline. Placements cross-check the on-site roster against Mobalytics’ build guides and Maxroll’s accessory coverage.
S Tier - Build-Defining
These change how the game plays or anchor an archetype. Chase first, polish first.
| Accessory | Effect (base) | Why S |
|---|---|---|
| Reflex Device | +15% Parry / Perfect Dodge window | Maxroll: arguably the best in the game |
| Remnant Spark Cube | +12% Phantom Edge damage | Largest flat damage line; Tale reward |
| Crimson Resolve | Rapid multi-hits grant +15% damage for 2s | Polished: 2s uptime, 4s cooldown - near-permanent |
| Nuo Mask | Summons cost 1 less Spark; summons gain Berserk | The summon build in one slot |
| Livingwood Talisman | Extends Bleed to Puppets | Mandatory for Jagged Steel bleed builds |
| Counterstrike Bracers | +20% damage for 2s after a Parry | Rewards the game’s core mechanic; first Long Pillar trial reward |
| Lingran’s Pendant | -15% Sha-Chi cost of Sha-Chi Combos | Economy engine for any combo-heavy weapon |
| Chaos Ring | Chaos Flame inflicts Sha-Chi Burn and refunds 50% of drained Sha-Chi | Enables the Blazing Edge / Freezing Chaos elemental core |
A Tier - Strong, Conditional
Excellent in the right hands or the right region; several are Mobalytics’ recommended early trio.
| Accessory | Effect (base) | The condition |
|---|---|---|
| Hunter’s Insight | +7% damage and Sha-Chi depletion | Always on; pairs with Token of Pursuit |
| Token of Pursuit | +7% damage to guard-broken enemies | Cash-out window after every break |
| Battle Wraps | +5% damage | Flat, unconditional filler |
| Nameless Thumb Ring | Fuels the Power Surge; upgrade adds iframes | Boss-interrupt value |
| Resonance Talisman | +15% maximum Sha-Chi | Bigger combos and surges |
| Rouge Box | -50% delay before Sha-Chi regeneration restarts | Heavy-spending builds |
| Sha-Chi Headscarf | +15% Sha-Chi recovery rate | Sustains long fights |
| Dance Fan | Damage scales with distance traveled, up to +40% | Polished to +60%; dash-attack playstyles |
| Guardian Idol | Destruction Edges: +1 Spark cost, +75% damage | Nukes on Bashpole-class Edges |
| Remnant Spark Cage | Edge follow-ups: 33% chance to restore 1 Spark | Edge-spam loops |
| Medicine Case | +20% healing from medicines | Missable - finish before Jing Ye |
| Ultimate Talisman | Power Surge +20% damage to Guard-Broken enemies | Guard-break builds |
B Tier - Situational or Supportive
Real value, narrow windows. Swap these in per fight rather than wearing them forever.
| Accessory | Effect (base) | When it shines |
|---|---|---|
| Venom Pouch | 15% chance to Poison on main-weapon hits | Humanoid crowds; swap out vs Puppets |
| Wraith Mask | Ghoststep from Parry/Dodge creates 3 attacking Wraith Masks | Summon/parry hybrid play |
| Twin Fish Pendant | Damage rises as Sha-Chi falls, up to +20% | Spend-big burst windows |
| Shenji’s Ring | -20% Sha-Chi consumption while blocking | Guard/turtle setups |
| Ancient Armor Fragment | Up to 20% damage reduction at high HP | Comfortable exploration |
| Auspicious Lion Fireball | +20% Fire damage; Ignite spreads | Fire builds, flammable arenas |
| Battleforged | After 10s unhit, immune to the next hit | Slow, careful boss attempts |
| Talisman of Despair | Next attack gains up to +25% over 4s | Buff-then-punish rhythm |
| Silent Wrap | -50% noise from footsteps and Assassinations | Missable - stealth approaches |
| Calming Gourd | Medicine cures Guard Break; 3s no Sha-Chi consumption | Missable - clutch defensive save |
| A Puppet’s Wooden Heart | +25% summon duration | Second summon slot |
| Treasure Basin | +10% Remnant Dust from drops | Farm runs with the Dust routes |
How to Fill Six Slots Under the Cap
Three categories, three-per-category maximum, six total - so every finished loadout runs a 2-2-2 or 3-2-1 split. The archetypes from our best builds guide map cleanly:
- Parry duelist (3 Offensive / 2 Support / 1 Defensive): Reflex Device is not a category by itself - slot Counterstrike Bracers, Crimson Resolve, and Lingran’s Pendant up front, Rouge Box and Sha-Chi Headscarf behind, Battleforged as the defensive seat.
- Phantom Edge spam (3 Offensive / 2 Support / 1 Defensive): Remnant Spark Cube, Guardian Idol, Crimson Resolve; Remnant Spark Cage and Rouge Box; Reflex Device.
- Summon (2 Offensive / 1 Defensive / 3 Support): Nuo Mask, Remnant Spark Cube; Reflex Device; A Puppet’s Wooden Heart, Rouge Box, Sha-Chi Headscarf.
Mobalytics’ early-game guidance lands the same way: its recommended starter trio is Hunter’s Insight, Token of Pursuit, Battle Wraps - one opener, one cash-out, one flat bonus.
Polish With a Plan
Jewel’s polish improves effects but never refunds, so the tiers double as a polish order: S tier first, A tier only for pieces in your six, B tier only when a situational piece becomes a regular.
Frequently Asked Questions
Where do I find these accessories?
Every location - chest, trial, vendor, and Tale - is mapped in the complete accessories index; the tiers here deliberately skip locations to stay readable.
Is the Treasure Basin worth a slot?
Only on farm runs: +10% Dust stacks with the Remnant Dust farming routes, but in combat it does nothing. Treat it as a seventh, swap-in piece.
Offensive, Defensive, Support - which category matters most?
Offensive accessories scale with skill (Crimson Resolve needs you landing multi-hits), Defensive ones scale with the difficulty spike you are facing, Support ones scale with your build’s spending habits. A balanced 2-2-2 loadout outperforms a greedy 3-offense set for most players.
Sources: on-site all-accessories roster (AllThingsHow, GameSpot, Game8 location data), Mobalytics’ Phantom Blade Zero build guides (accessory values and early-game trio), Maxroll’s best-accessories coverage (Reflex Device ranking, Crimson Resolve polish numbers) - cross-checked November 4-6, 2026.
Related Articles
quests
Leave None Alive Phantom Blade Zero: Thief's Manual & Arrowward
Leave None Alive walkthrough in Phantom Blade Zero: find the Thief's Manual at the Thieves' Camp, deliver both relics, and claim Arrowward before the thief dies.
quests
The Star Performer Walkthrough - Dance Fan Accessory
Complete The Star Performer in Phantom Blade Zero: get the Tianxiang Pavilion Key via Myst's Tavern, recover the Tattered Dance Fan, and earn the Dance Fan.
guides
All Accessories in Phantom Blade Zero: Locations & Effects
All 66 Phantom Blade Zero accessories sorted by source: Tale rewards like Medicine Case, Silent Wrap and Remnant Spark Cube, chest pickups, effects, and best builds.
Was this helpful?
Thanks for the feedback!